Rapid Visualization
A course on concept sketching. Topics include: hand sketching using scaled perspective and pencil and technical pen and marker rendering techniques to generate, communicate, and present ideas graphically.
Students completing this course are able to:
• Understand the purpose of concept sketching in the modern industrial design world
• Make effective use of a personal sketchbook and professional industrial design toolkit
• Rapidly generate visual representations of ideas
• Understand and apply the principles of 1, 2 and 3 point perspective
• Demonstrate superior visual communication skills utilizing design drawing instruments
• Improve communication skills for presenting ideas orally and visually
This course was co-developed with Adjunct Instructor, David Schwanemann.
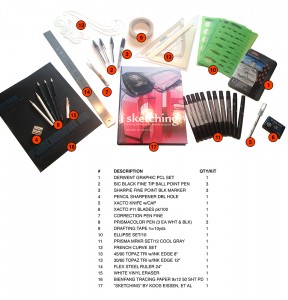
Industrial Design Drawing Toolkit
During the first day of the term, students are supplied with a list of essential drawing tools. The recommended brand and supplier as well as the purpose and expected longevity of each tool are reviewed. Students can purchase the majority of the tools through our campus bookstore, which allows them to use their financial aid to get the right tools the first time.
Basic Shapes in 3D & Thumbnailing
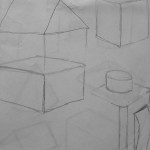
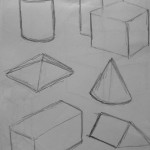
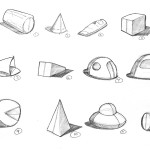
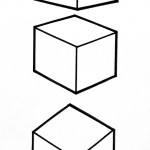
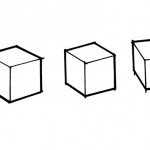
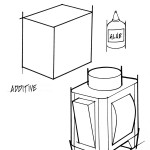
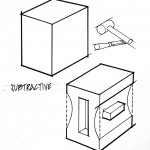
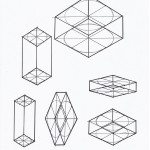
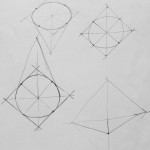
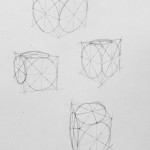
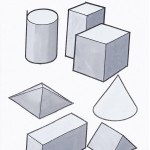
The first day of class, we do a demo on drawing basic shapes in 3D. We then supply students with a pencil and paper, and then have them draw the same shapes on their own. This exercise allows us to evaluate student’s drawing aptitude, and focus our efforts on where improvement is needed. (perspective, line weight, line quality, hand/eye coordination, etc)
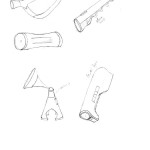
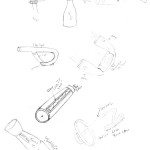
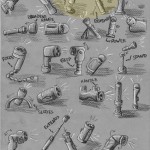
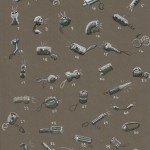
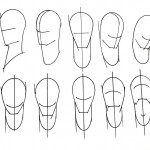
This class is a co-requisite with our Introduction to Industrial Design course. Rapid concept ideation is important to both, so during the first week, there is a lesson on drawing thumbnail concepts for the project assigned in the Intro class that term. In the rapid viz course, students are given some basic guidelines for producing thumbnail sketches then sent home to produce 100 unique thumbnails of concepts for their intro projects before the first week is over.
One and Two Point Perspective
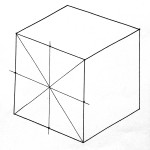
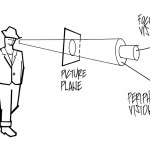
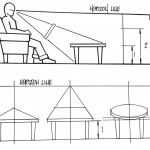
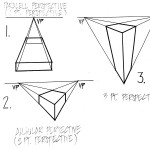
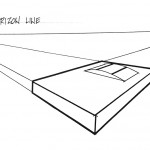
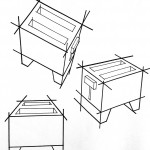
This lesson begins by introducing key perspective concepts and terms. A demonstration of constructing forms in 1, 2 and 3 point perspective comes next. Handouts accompany this activity.
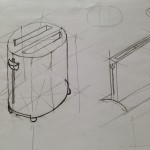
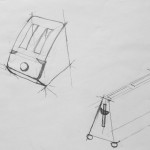
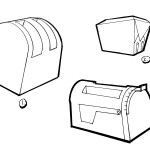
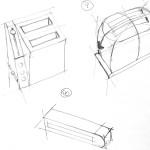
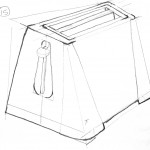
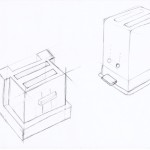
Students then apply the principles of the lesson by drawing concepts of toasters.
Perspective Continued
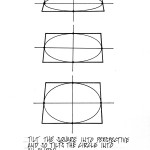
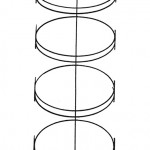
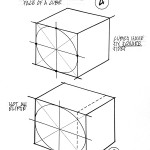
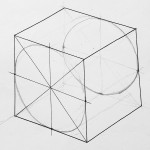
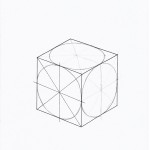
Students then learn to draw ellipses. A demonstration, discussion and handouts are provided.
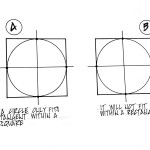
Students begin learning about circles in perspective by constructing them within a provided template, then they practice on their own.
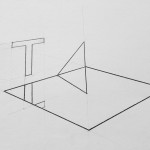
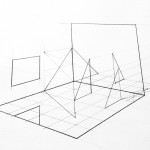
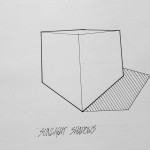
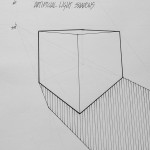
Advanced Perspective including Reflections and Shadows
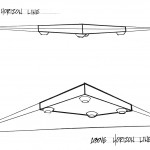
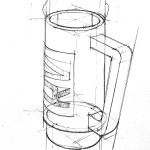
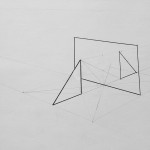
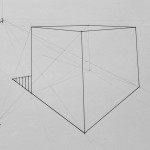
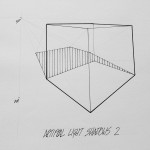
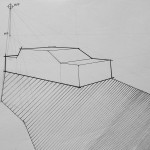
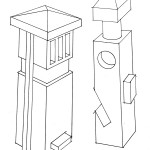
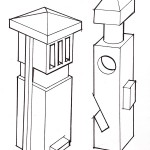
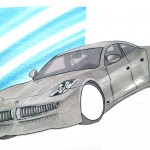
To further advance our understanding of perspective, we beging to explore more complex subjects. These are examples from drawing demonstrations done with students in class:
Design Lettering
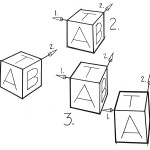
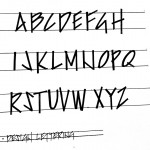
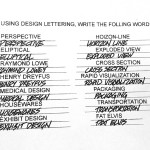
To prepare students for creating concept sketches with lettering, we introduce guidelines for creating design lettering, and then have them practice repeatedly. Students are expected to use only design lettering on all projects from this point forward.
Composition & Negative Space
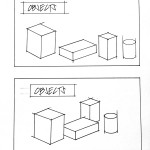
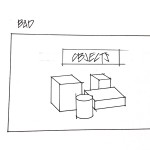
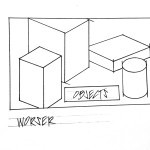
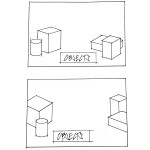
This section of the course introduces concepts of composition.
Line Quality & Marker Rendering
Students are instructed on creating a vocabulary of line weights, and given random shapes to practice on. Here is an example of a blank and filled in line weight worksheet:
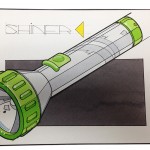
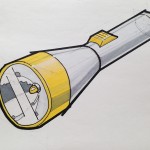
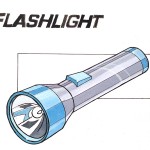
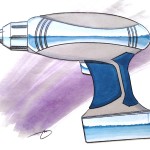
Marker rendering instruction begins by going back to the simple forms we started with at the beginning of the term, then progressing on to increasingly more challenging forms.
People with Products
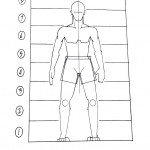
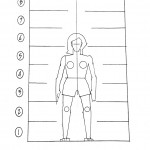
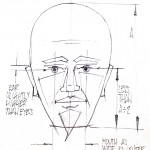
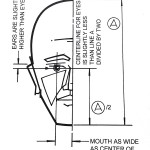
Adding people to our design sketches begins by developing an understanding of proportions.
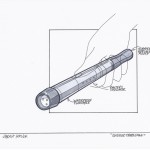
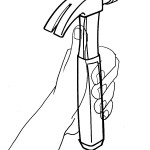
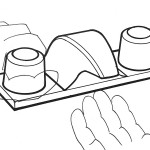
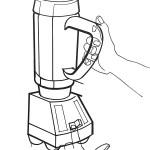
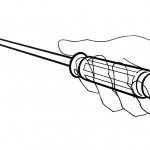
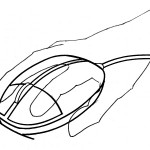
Students then give us a hand. Drawings of hands that is, on drawings of products that we provide them with.
Final Portfolio Review
Students prepare a final portfolio of all projects completed during the term and present it to their instructor at the end of the term.

