Model Making & Prototyping
A course on fabricating models and prototypes. Topics include: the importance of 3D visualization of the design for a product, and applying technologically advanced tools and methods.
Students completing the course were able to:
• Understand and apply the principles for building models and prototypes in the industrial design field.
• Make effective use of a professional industrial design model shop tools and equipment.
• Work effectively with materials including urethane foam, sheet styrene and tooling board to build models from drawings.
• Understand the value of 3D printing in the design process, and have produced and finished at least one 3D printed part master.
• Understand and gain experience with professional casting and molding techniques.
• Understand the basic principles of vacuum forming and have produced at least one mold and one vacuum formed part from that mold.
• Demonstrate capability in producing professional quality models by hand and by machine.
• Understand and apply model finishing techniques for effective design presentation.
This course was co-developed with adjunct instructor, Mike Palmisano.
Introduction
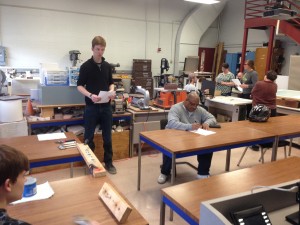
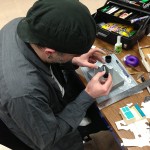
At the beginning of this course, Students receive training and are tested on using the equipment and materials in our model shop. Students are required to pass a safety test prior to using any of the power tools, and are expected to practice shop safety at all times while working in the lab.
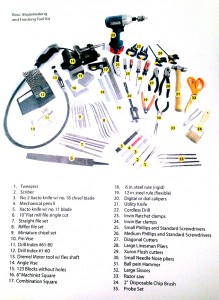
Students are supplied with a list of tools they are required to purchase for use during the term.
Foam Widget Project
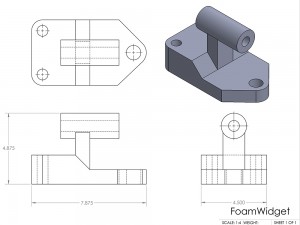
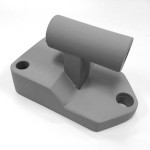
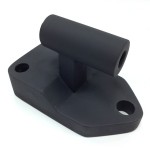
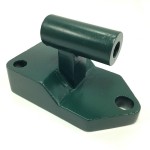
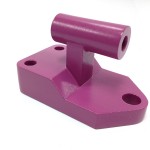
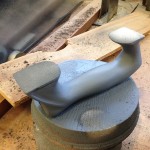
Students practice reading and measuring a scaled orthographic dimensioned drawing of a widget, then use woodworking tools to sculpt polyurethane foam by constructing a full-scale model of it. Students learn about finishing techniques including sanding, sealing and painting the foam.
- Carl Columber’s Foam Widget
- Dominick Shauntee’s Foam Widget
- Patrick Hine’s Foam Widget
- Zach Sabatelli-Ludy’s Foam Widget
Styrene Model
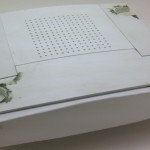
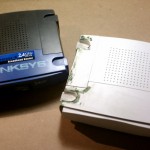
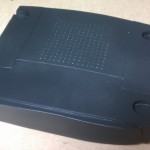
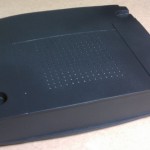
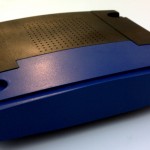
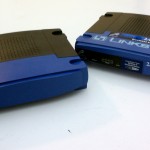
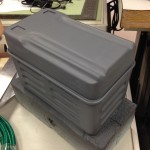
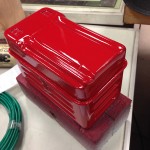
Students receive instruction on working with sheet styrene, and get a chance to work with samples of the material before starting this project. Students then select a product from home with mostly flat surfaces, measure it and create dimensioned drawings to work from, then create a full-scale replica of it using primarily sheet styrene.
Once again finishing techniques are practiced on these models.
Here are some photos of Patrick Fleckenstein’s Linksys Router project:
Scaled Model Project
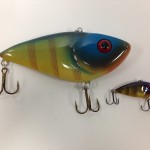
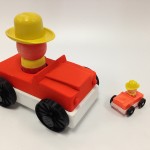
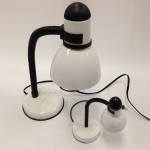
Now things get interesting! On this project, students now have some knowledge of working with foam and styrene behind them. They are expected to apply what they’ve learned from working with these materials to develop a scaled model of a product of their choosing. The model can be scaled up or down from the original, but must match it in as much detail as possible. To add to the challenge, students are required to 3D print at least one part of this scaled model. Here are some of the results:
- Carl Columber’s fishing lure model (left) with original.
- Erin Shinkle’s scaled model car (left) with original.
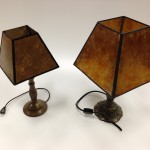
- Jack White’s scaled desk lamp (right) with original.
- Jourdan Sullivan’s scaled lamp (left) with original.
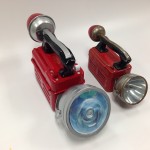
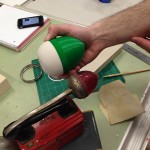
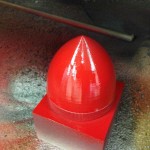
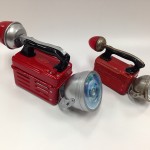
- Zach Sabatelli’s scaled road emergency lantern (left) with original.
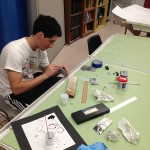
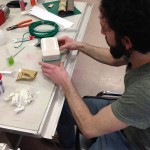
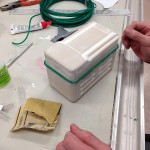
Here are some progress shots that show how Zach Sabatelli’s scaled emergency lantern went together:
Casting & Molding Project
Casting and molding are integral to mass production. Students learn about casting and molding techniques in this class by means of a live demonstration, a video on the subject that lets them see the whole process, and then by casting a copy of something using polyurethane resin and an existing RTV mold.
To begin the project, students select one of the models they have already completed this term or another product of their choosing. They then create a water-tight reservoir around the object, mix up and evacuate the air from RTV silicone rubber, and pour it in.
After waiting 18 hours for the rubber to cure, students de-mold their master parts, and either prepare the mold and reservoir for the second half, if applicable, or begin pouring polyurethane resin into the completed mold.
Once the molding process is complete, students create at least three copies of their original part, practicing finishing techniques including using resin dyes to match a color, using casting powders to replicate metal finishes, and sanding, sealing and painting a part copy.
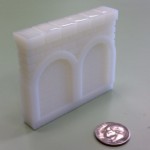
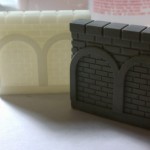
- Patrick Fleckenstein’s 3D printed model wall.
- Original model wall (left) with RTV silicone reservoir.
- Original model wall (left) with cast copy.
Packaging Project
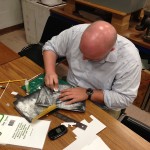
Students finish the term by designing and creating blister or clamshell style packaging for a model they created during the term. Instruction is provided on packaging techniques including creating and printing packaging artwork, using a vacuum former and clicker press, and utilizing established finishing techniques to create convincing product packaging.
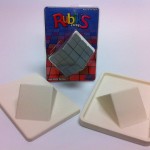
- Branden Fox’s Rubix Cube clamshell package.
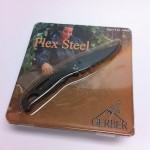
- Felix Bodurek’s folding knife clamshell package.
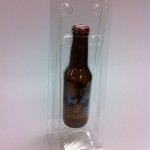
- Jimmy Finnigan’s single beer bottle clamshell package.
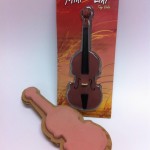
- Ruby Schille’s toy violin clamshell package.
Just for Fun
Often times, students will demonstrate their passion for this field by pursing projects on their own. Sometimes students will send me photographs of their work.
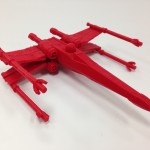
- X-Wing fighter found on Thing-i-verse, and printed on our Makerbot.
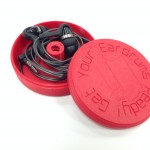
- Earbud wire holder found on Thing-i-verse, and printed on the Makerbot.
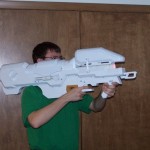
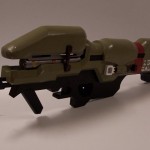
- Kevin Gebhardt’s video game weapon modeled from sheet styrene.
- Kevin Gebhardt’s painted model.
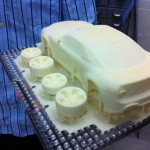
- Branden Fox’s 3d printed concept car.
- Brad Phillip’s idea for a neck-tie device.
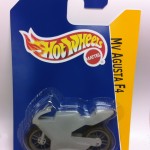
- Jake Anuszkiewicz’s Hot Wheels motorcycle model.
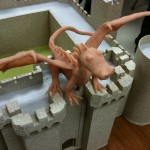
- Sara Blum’s Sculpey dragon.
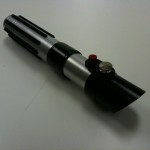
- Aaron Weber’s lightsaber model.

