Introduction to Industrial Design
In the Summer of 2006, after discussion with members of my advisory committee, it was decided that students starting out in the IDT program would greatly benefit from a course that allowed them to get a better understanding of the field of industrial design. We accomplished this by having first-term students complete a simulated design project, including “real-world” market representatives (staff, faculty and friends), who provided guidance and feedback as the term progressed. This promoted engagement, motivation and enthusiasm among the students, who were previously struggling with anxiety and/or apathy, and greatly increased our retention efforts.
Students completing this course are able to:
• Understand the concepts and principles for the field of Industrial Design through execution of a semester long design project.
• Understand and have gained experience effectively executing each of the steps of the design process.
• Understand and make effective use of key industrial design research methods.
• Understand and apply critical thinking skills.
• Demonstrate effectiveness in producing professional quality design presentations, including research & analysis, concept sketching, rendering & sketch models.
• Develop a basic industrial design resume and online portfolio.
• Maintain a concept sketch book.
Product and Market Research
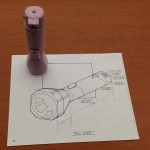
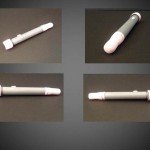
When the term begins, students are provided with a sample of the product we will be designing. The product is fairly simple, so that the focus of the class is on learning about the design process. Students disassemble the product, photographing the process and parts, then research materials and manufacturing processes in order to develop an understanding of how the parts of the product are made. From this exercise students then create a parts list, write assembly instructions and report on their research findings.
Product Disassembly Report, Chad Morgan
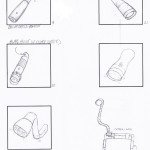
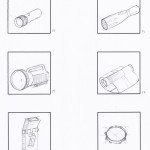
Students begin their market research by going to a retail store (Target, Walmart, Home Depot, Lowes, etc), and photographing and collecting information including price, unique features, and materials for at least ten competitor’s products. Students deliver a report of their findings.
Product Market Research, Sarah Hauck
Continued Research and Concept Development
Once students have completed these initial tasks, they select one of the ten flashlights from their market research report and develop an ad-hoc persona for the person they believe would purchase this flashlight.
Persona Examples:
Ad-Hoc Persona, Derek Dugger
Ad-Hoc Persona, Shannon Merten
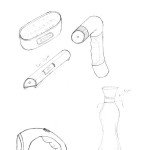
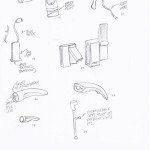
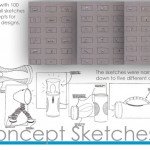
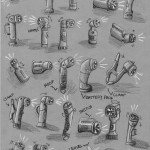
Students are then assigned to a group, where they select one persona for the group to design a new flashlight for. After a brainstorming session, students begin sketching no less than 100 thumbnail concepts.
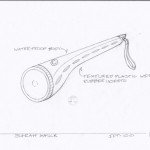
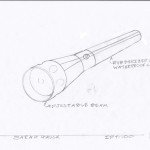
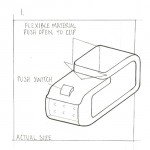
- Derek Dugger’s flashlight thumbnails sketches.
- Sarah Hauck’s flashlight thumbnail sketches.
- Sarah Hauck’s flashlight thumbnail sketches.
- Sarah Hauck’s flashlight thumbnail sketches.
- Hannah Mattingly’s flashlight sketches.
- Chad Morgan’s flashlight thumbnails sketches.
Concept Refinement and Market Representative Meetings
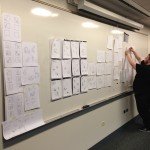
Students meet in groups to discuss their ideas, and select their five best concepts and prepare a presentation for a (volunteer) representative of their market.
- Thumbnail sketch class critique.
- Thumbnail sketch class critique.
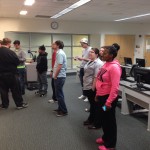
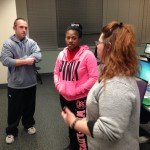
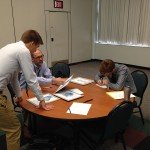
- Students discussing pros and cons of flashlight concepts for the general aviation market.
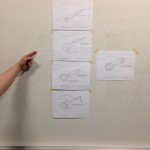
- Student points out her favorite concept from five refined sketches of thumbnails.
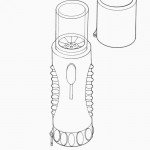
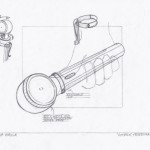
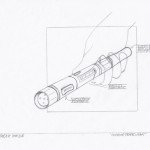
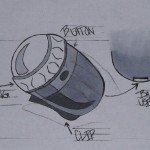
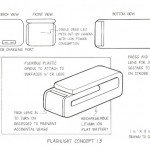
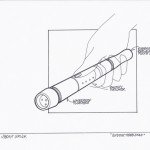
- Chad Morgan’s concept sketch.
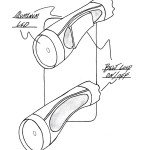
- Derek Dugger’s concept sketch.
- Sarah Hauck’s concept sketch.
- Sarah Hauck’s concept sketch.
- Sarah Hauck’s concept sketch.
- Sarah Hauck’s concept sketch.
- Shannon Merten’s concept sketch.
Client meetings:
- Student’s initial meeting with their market representative.
- Student’s initial meeting with their market representative.
- Student’s initial meeting with their market representative.
Concept Selection, Sketch Modeling and Human Factors Evaluation & Testing
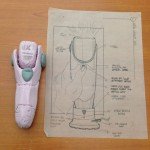
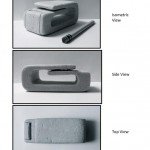
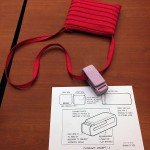
During the market representative meeting, individual students determine a direction for their project and develop a revised concept sketch and a sketch model, in order to begin evaluating physical human factors considerations. Final tweaks are made during this process.
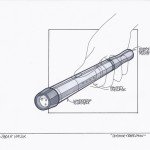
- Derek Dugger’s concept sketch.
- Jasmine Bryson’s revised flashlight concept sketch.
- Rob Gorsler’s flashlight sketch and sketch model for a midterm client presentation.
- Nick Douglas’ flashlight sketch and sketch model for a midterm client presentation.
- Chad Morgan’s revised flashlight concept sketch.
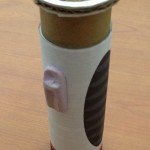
- Chad Morgan’s flashlight sketch model for a midterm client presentation.
- Shannon Merten’s flashlight sketch model.
- Shannon Merten’s flashlight sketch and sketch model for a midterm client presentation.
- Sarah Hauck’s flashlight sketch model.
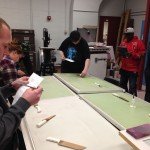
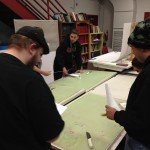
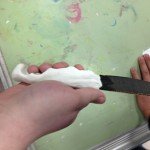
In order for students to better grasp human factors principles such as data collection and evaluation, ergonomics and anthropometrics, students complete a knife handle design exercise, where they measure everyone’s hands in the class, then plot the data on a graph, and analyze it. Students then design a handle around ideal dimensions and use clay and cardboard to construct a model that will fit at least 98% of their classmates. Students finish the exercise by using a grading sheet to evaluate the models.
For markets with special needs, I incorporate an immersive design exercise, in order to have students develop a better understanding of what their customers might experience when using their product.
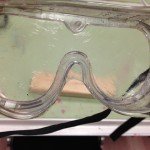
- Blurred vision simulation goggles for immersive design exercise.
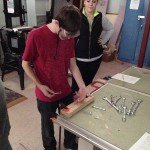
- Student, Chad Morgan, completing a routine task using the blurred vision simulation goggles.
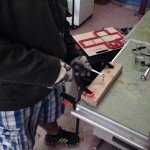
- Student, Christian Greschel, completing task using arthritis simulation glove.
- Student, Christian Greschel, completing task using arthritis simulation gloves.
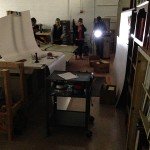
- Student, Rob Gorsler, navigating obstacle course with night blindness simulation goggles.
Developing a Product Brief and Visual Aids to Present to Market Representatives
Once students have developed and evaluated a sketch model of their ideas, they are then tasked with wrapping up the project for the term.
The first part of this is constructing the product brief. They do this so late on this project because they now have some experience with the product design process and can produce a more effective document.
Students are given options for creating visual aids for their final presentation. Hand drawn product renderings and a digital presentation based around the design brief are required, but computer-based and physical models are also encouraged. Students receive instruction for the latter two during the final weeks of the term.
Product Brief Examples:
Patrick Hine, Product Brief
Carl Columber, Product Brief
Concept Sketches and Final Presentation Photos:
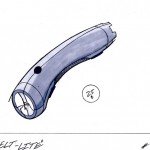
- Chad Morgan’s revised flashlight concept sketch.
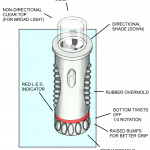
- Sarah Hauck’s final flashlight concept rendering.
- Derek Dugger’s final flashlight concept rendering.
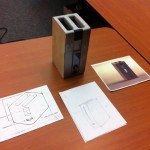
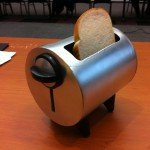
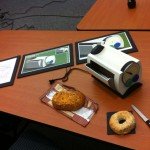
- Jonathan Pidgeon’s Apple inspired toaster concept.
- Student, Jonathan PIdgeon, explaining his Apple inspired, deep slot toaster concept to volunteer client, Jean Manning.
- Jourdan Sullivan’s retro themed toaster concept, produced for volunteer client, Geoff Woolf.
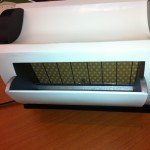
- Patrick Fleckenstein’s toaster/steamer concept.
- Patrick Fleckenstein’s toaster/steamer concept.
- Patrick Fleckenstein with his toaster/steamer model.
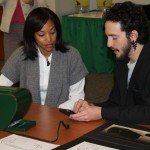
- Student, Zach Sabatelli-Ludy, demonstrating his fashion forward toaster concept to volunteer client, Cassandra Scott.
- Student, Samuel Tilford, and volunteer client, Martino Harmon, with Sam’s Cleveland Browns themed toaster concept.
- Student, Dominick Shauntee with volunteer client, Heather Hatchett, and his cartoon character toaster model.

